Maple Pumpkin Nut Granola

I love Fall. I love the smell of Fall, I love the changing colors of the leaves, I love cozy jackets and sweater weather. I would say that it’s my favorite season of the year. Also as a Canadian, I have a love of maple syrup. Anytime things call for honey, I opt to sub-it out for maple syrup.
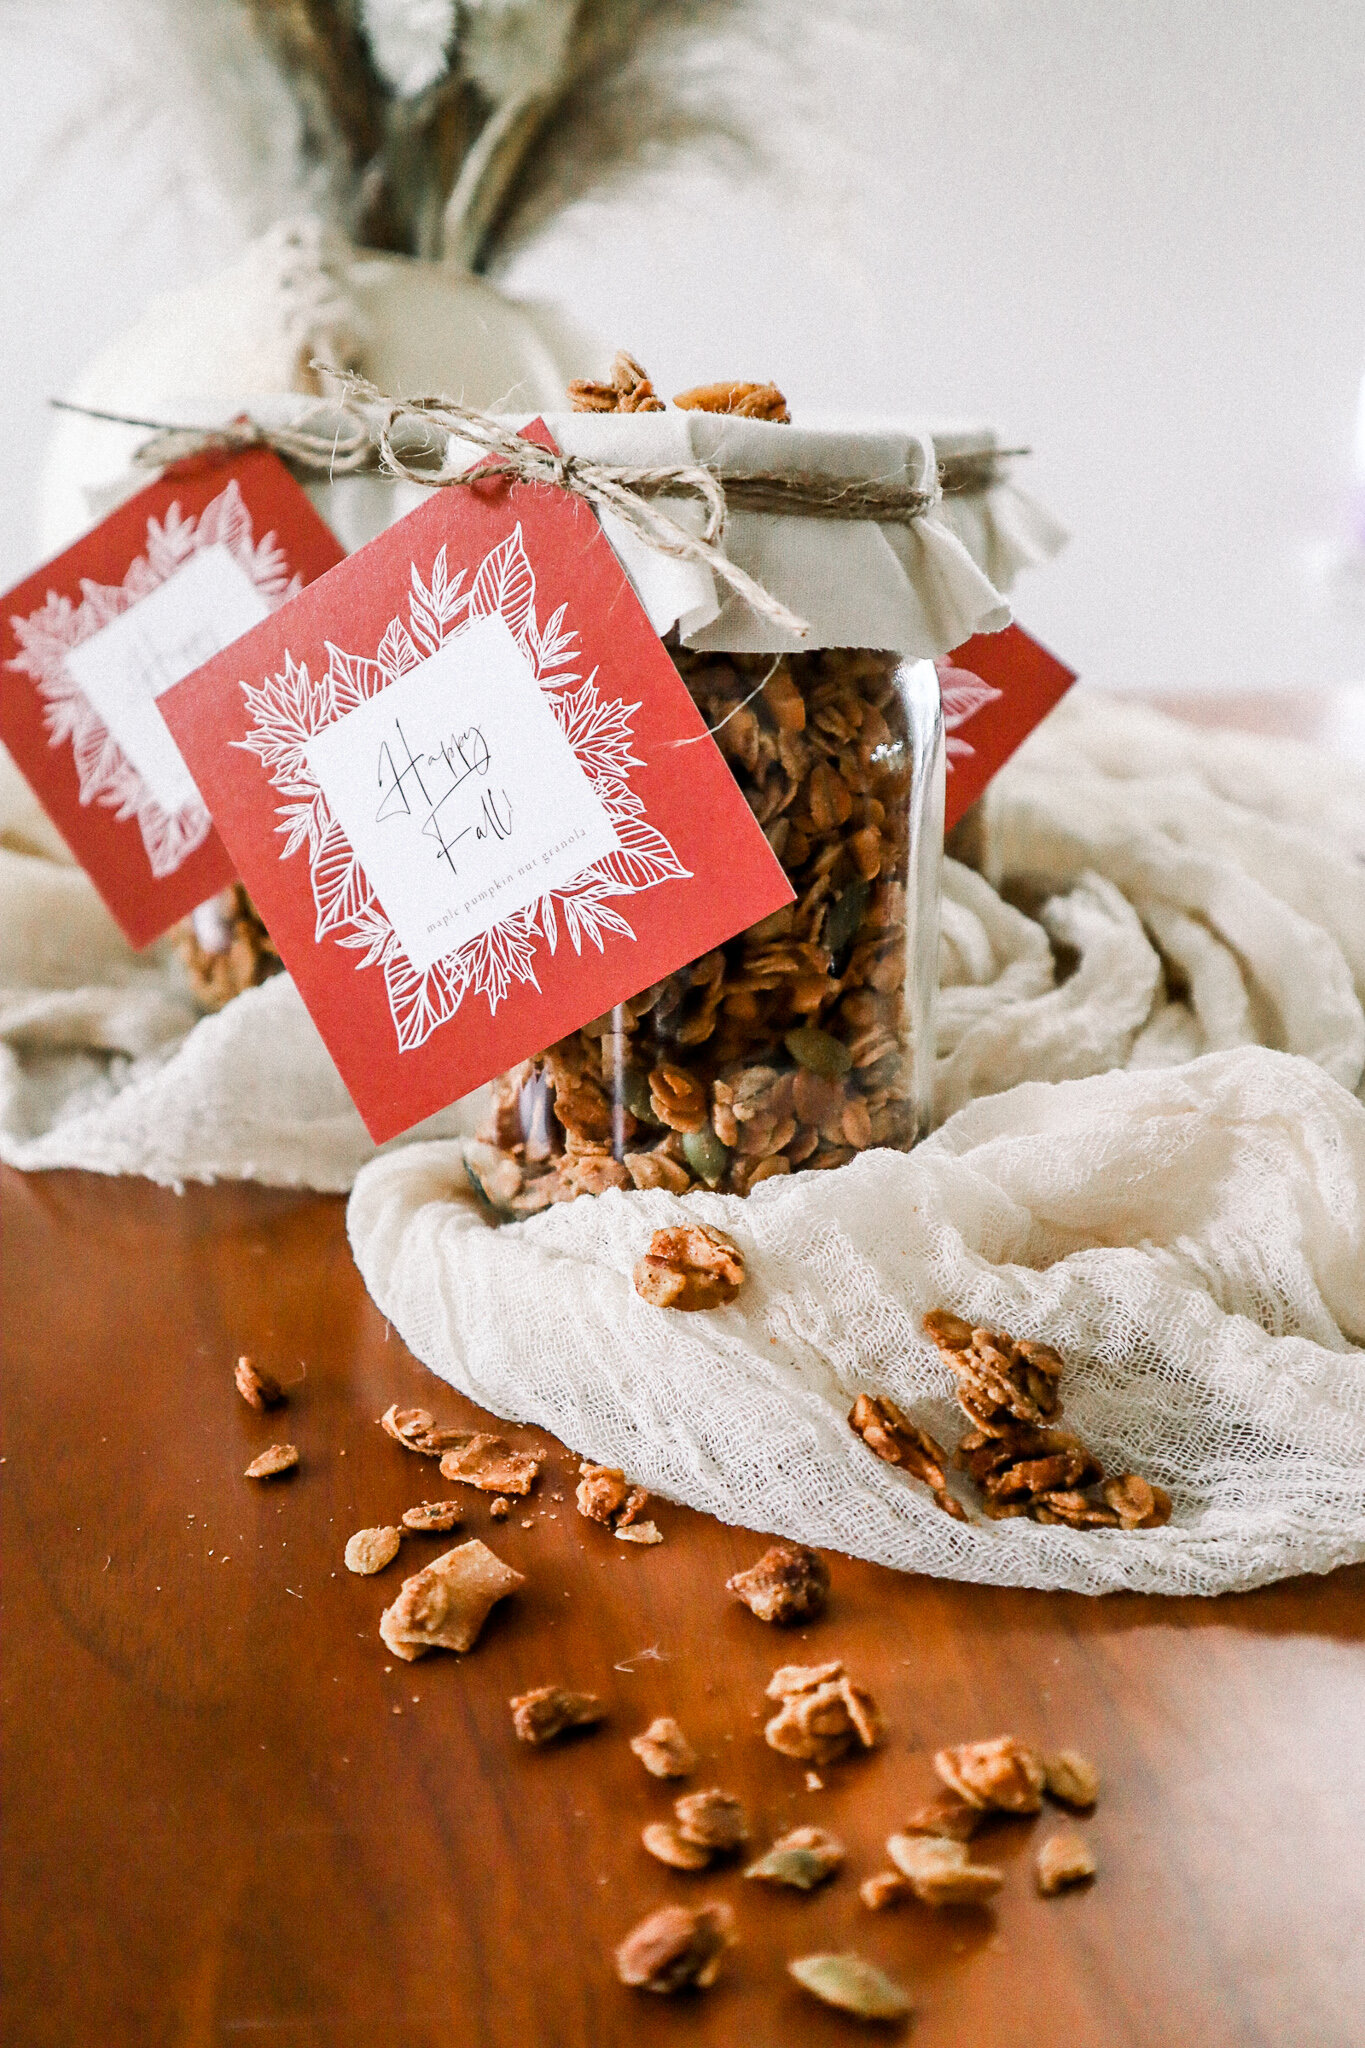
One of my favorite things to have for breakfast is a beautiful bowl of greek yogurt topped with homemade granola. I found this amazing recipe for homemade granola and subbed in maple syrup for the sweetener and I wasn’t disappointed one bit! I made a big enough batch so that I could package them up and gift them to some neighbors and friends. Take a look here to see how I packaged them and print the little tags I designed to take your little gift to the next level.
MAKING YOUR MAPLE PUMPKIN NUT GRANOLA
Prep Time: 10 minutes (not including cooling time)
Cook Time: 25 minutes
Total Time: 35 minutes
INGREDIENTS
3 cups whole oats
2 tsp cinnamon
1/2 tsp nutmeg
1 pinch salt
1 cup unsweetened coconut flakes
1/3 cup chopped nuts (pecans, walnuts, macadamias)
1/3 cup pumpkin seeds
4 tbsp olive oil
2/3 cup maple syrup
1 tsp vanilla
4 tbsp almond butter

INSTRUCTIONS
1. Preheat oven to 325 degrees and line a baking sheet with parchment paper.
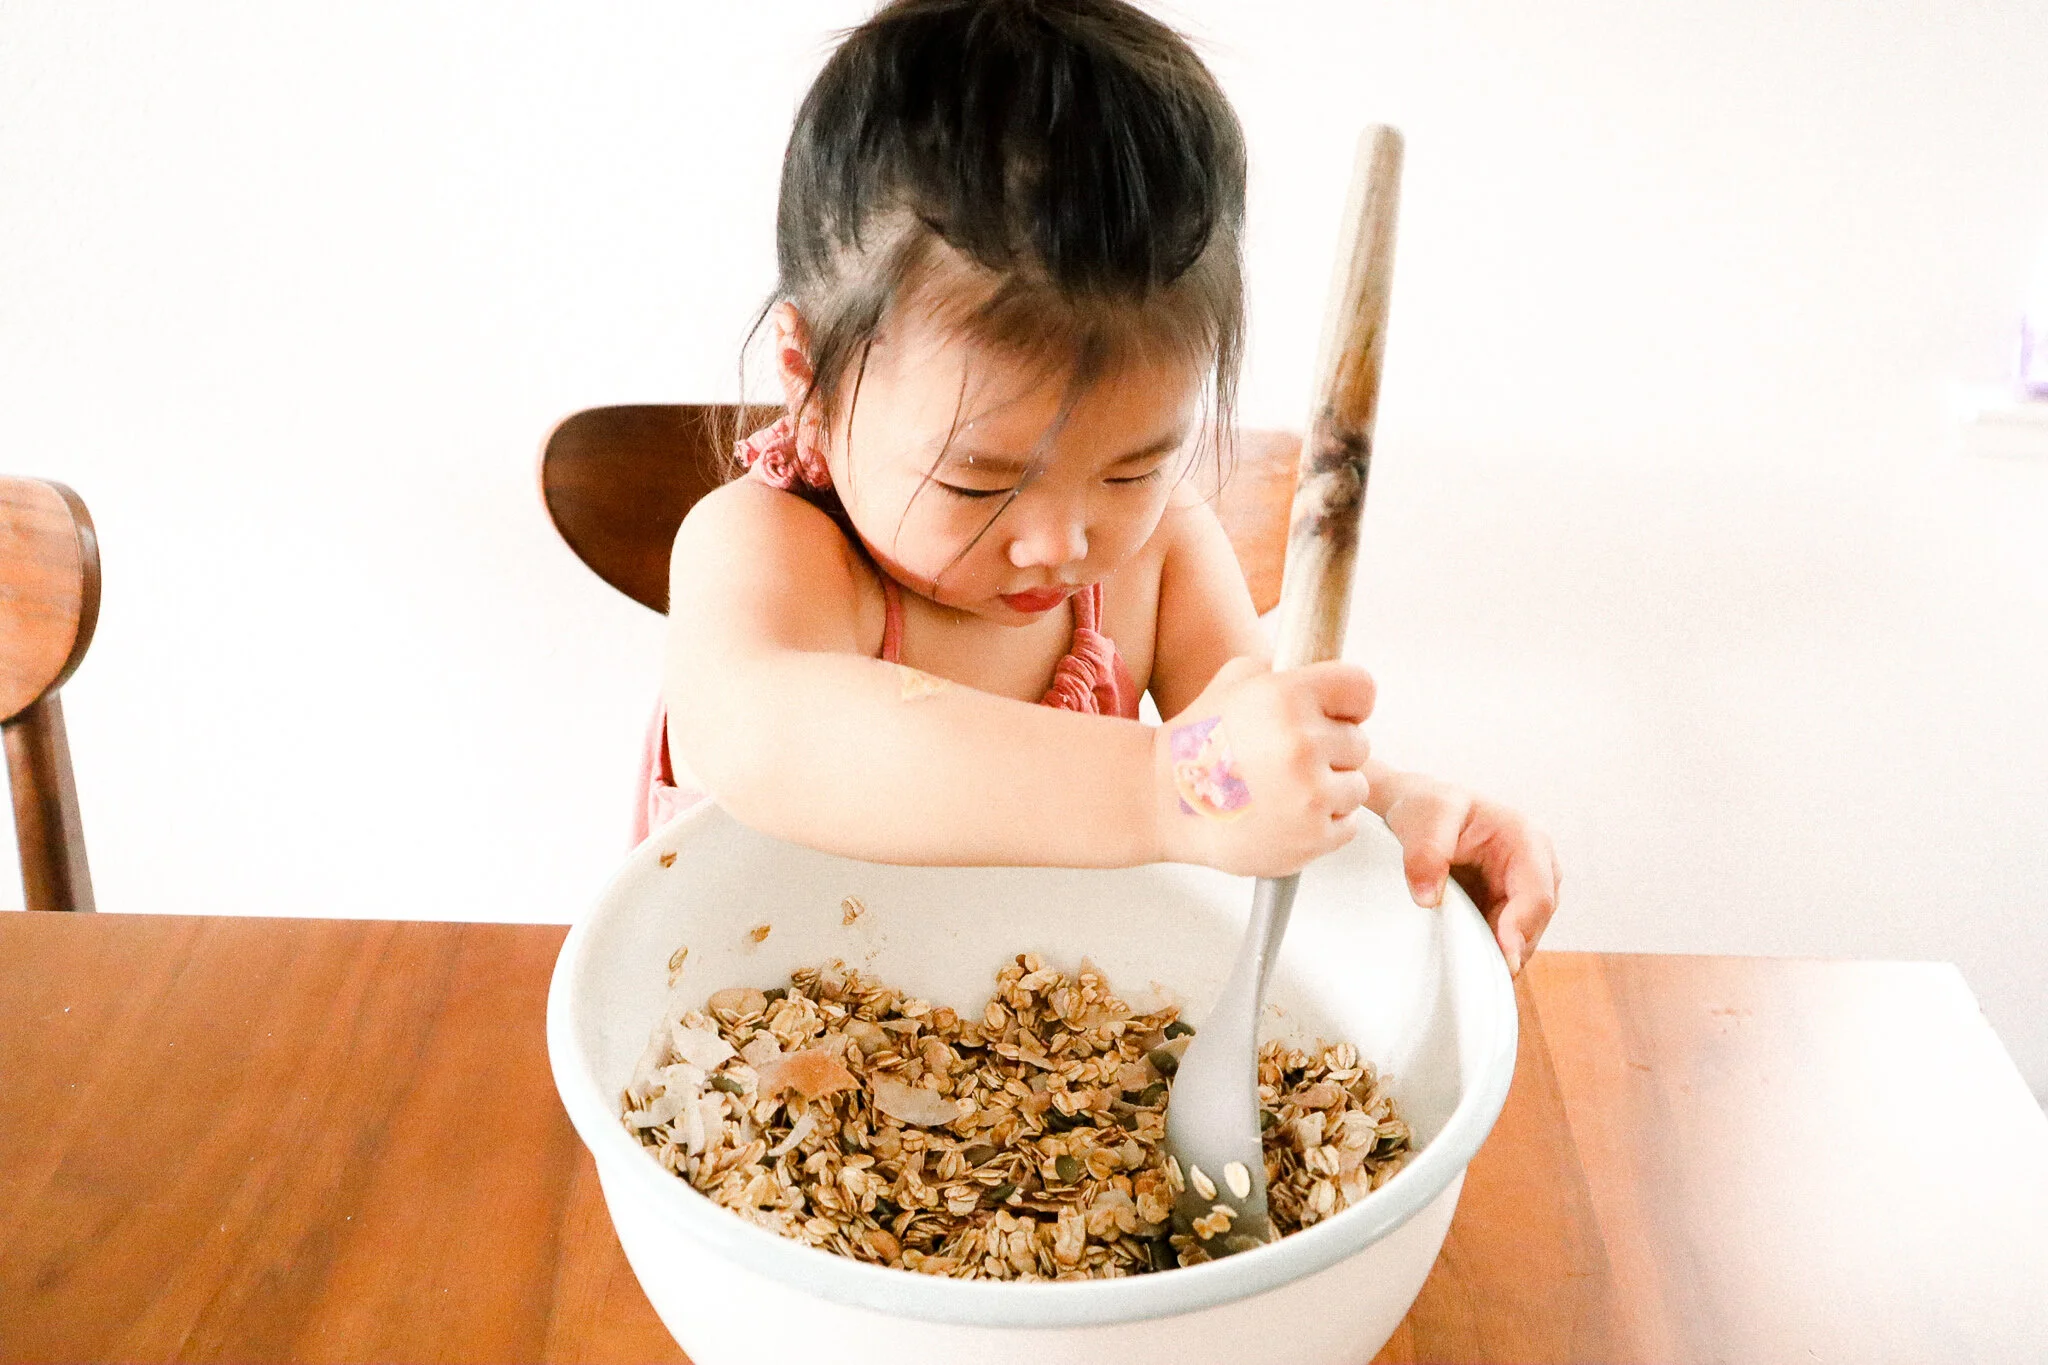
2. In a large mixing bowl, add oats, cinnamon, nutmeg, salt, shredded coconut, pumpkin seeds and chopped nuts. Stir to combine.


3. Combine the olive oil, maple syrup and vanilla and stir to combine. Add the almost butter and break it down with a fork and get the chunks out.

4. Pour the maple syrup mixture into the dry granola mixture and stir to combine.

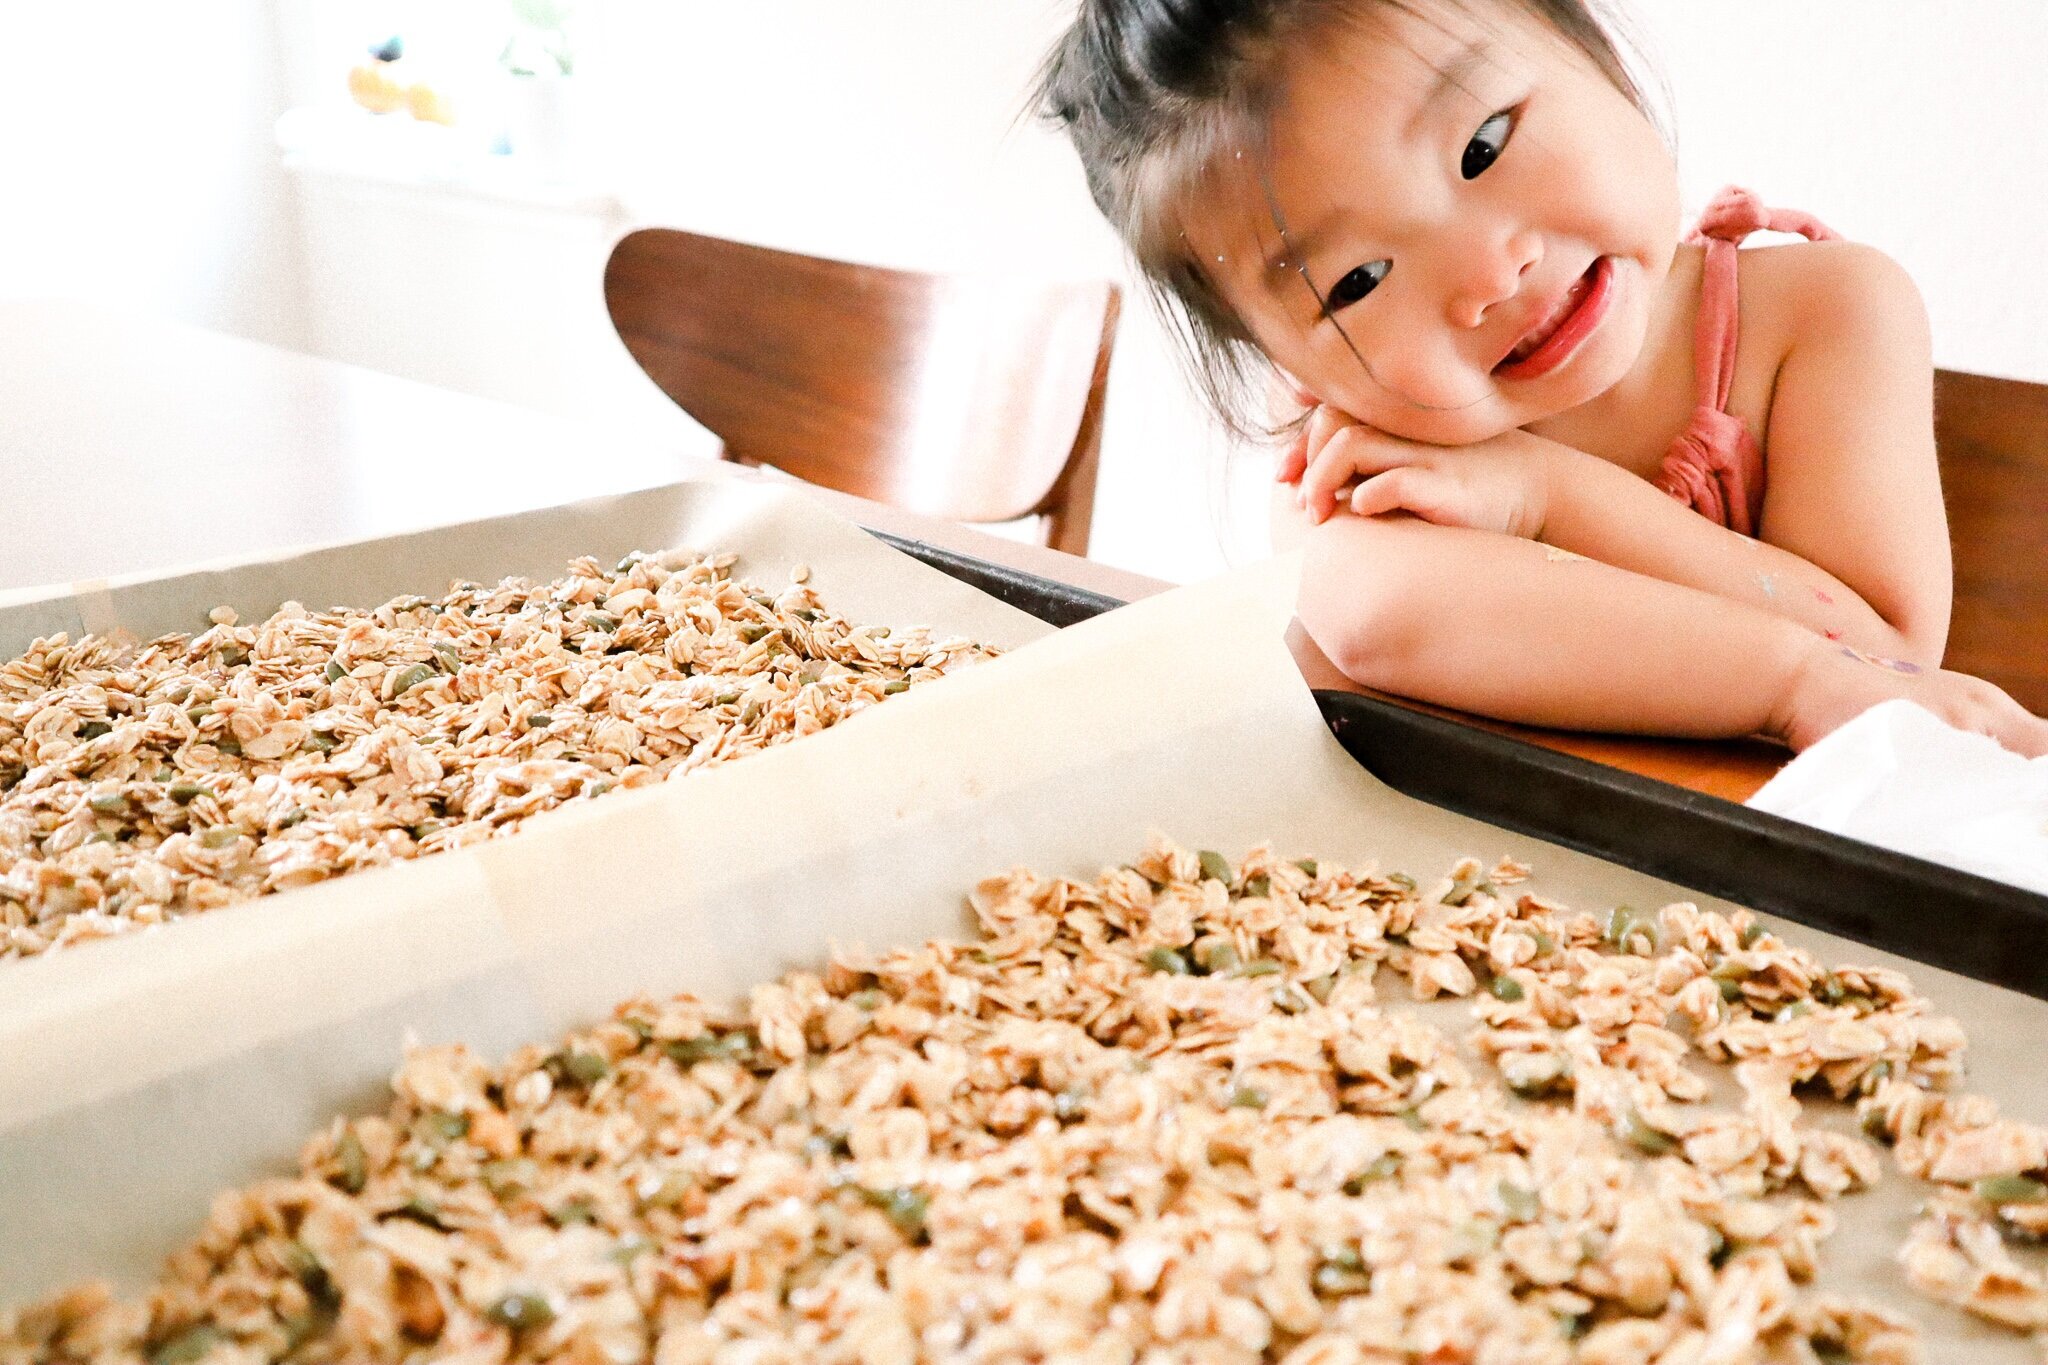
5. Spread the granola out so that it’s flat on your lined baking sheets and bake for 12 minutes. After 12 minutes, stir the granola on the pan (moving the granola on the edges to the inside of the pan so it doesn’t burn) and bake for 15 more minutes, or until golden brown.

6. Patiently wait and let it cool completely before putting it into your storage containers/mason jars.

