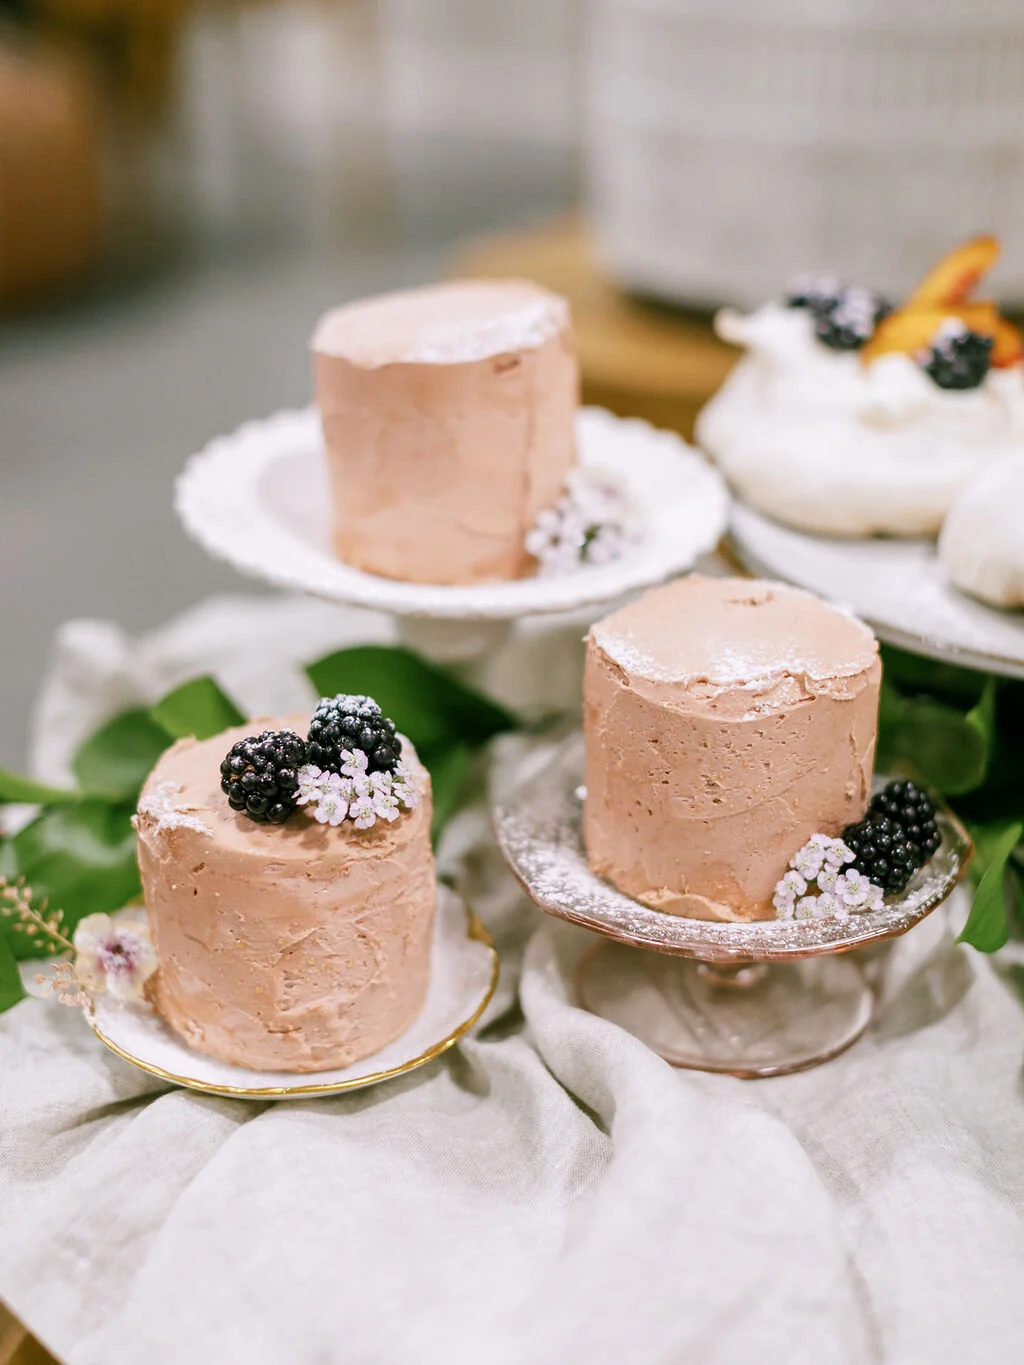
Mini Individual Cakes
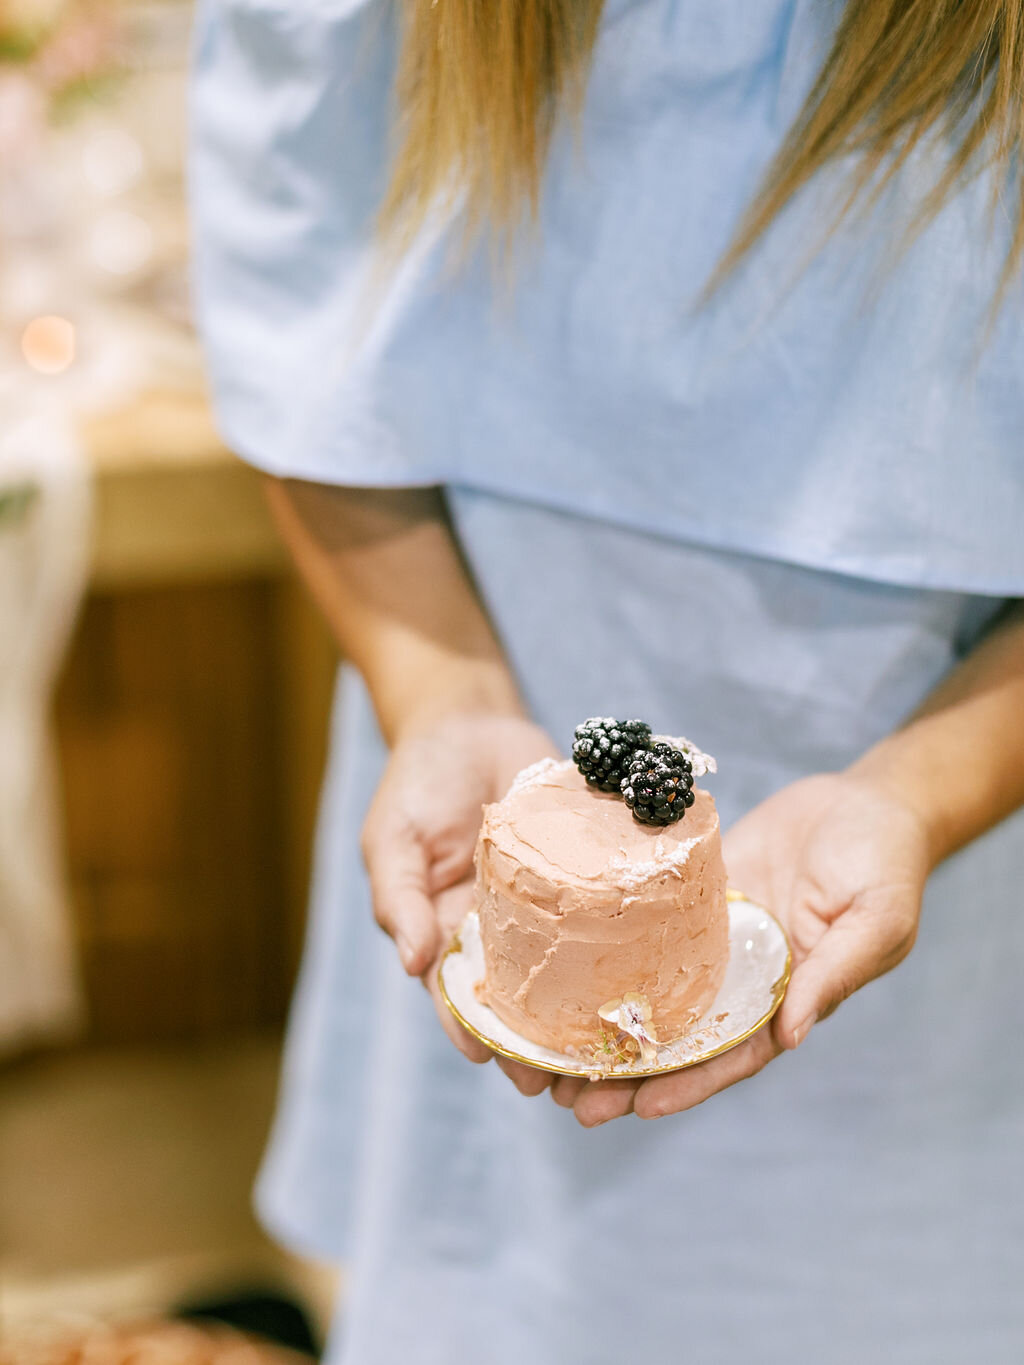
I’ve shared before how much of a cake fanatic I am and nothing’s changed since then! I’ve always thought that individual mini cakes are not only so sweet, they’re thoughtful. Because they’re portioned out to be an individual size, it makes eating a single portion so special because you get the sense that it was made for you.
We took a simple vanilla cake recipe and used the same techniques of putting together a layered cake into these individual mini cakes, sized at about 3” each. They’re not much more difficult to make than a layered cake and I think the results are so much better!
MAKING YOUR MINI CAKES
Makes: 5 mini cakes
INGREDIENTS
FOR THE CAKE:
3/4 cup egg whites (you can use liquid egg whites but I think that this works better with real egg whites)
1 cup unsalted butter at room temperature
3 cups and 1 tablespoon cake flour
2 teaspoons baking powder
1/2 teaspoon salt
1 cup milk (I substituted with almond milk)
2 teaspoons vanilla
FOR THE FROSTING:
1 1/2 cups unsalted butter at room temperature
3 cups powdered sugar
2 teaspoons vanilla extract
MATERIALS
Baking Sheet Pan (18”x13”) lined with Parchment Paper
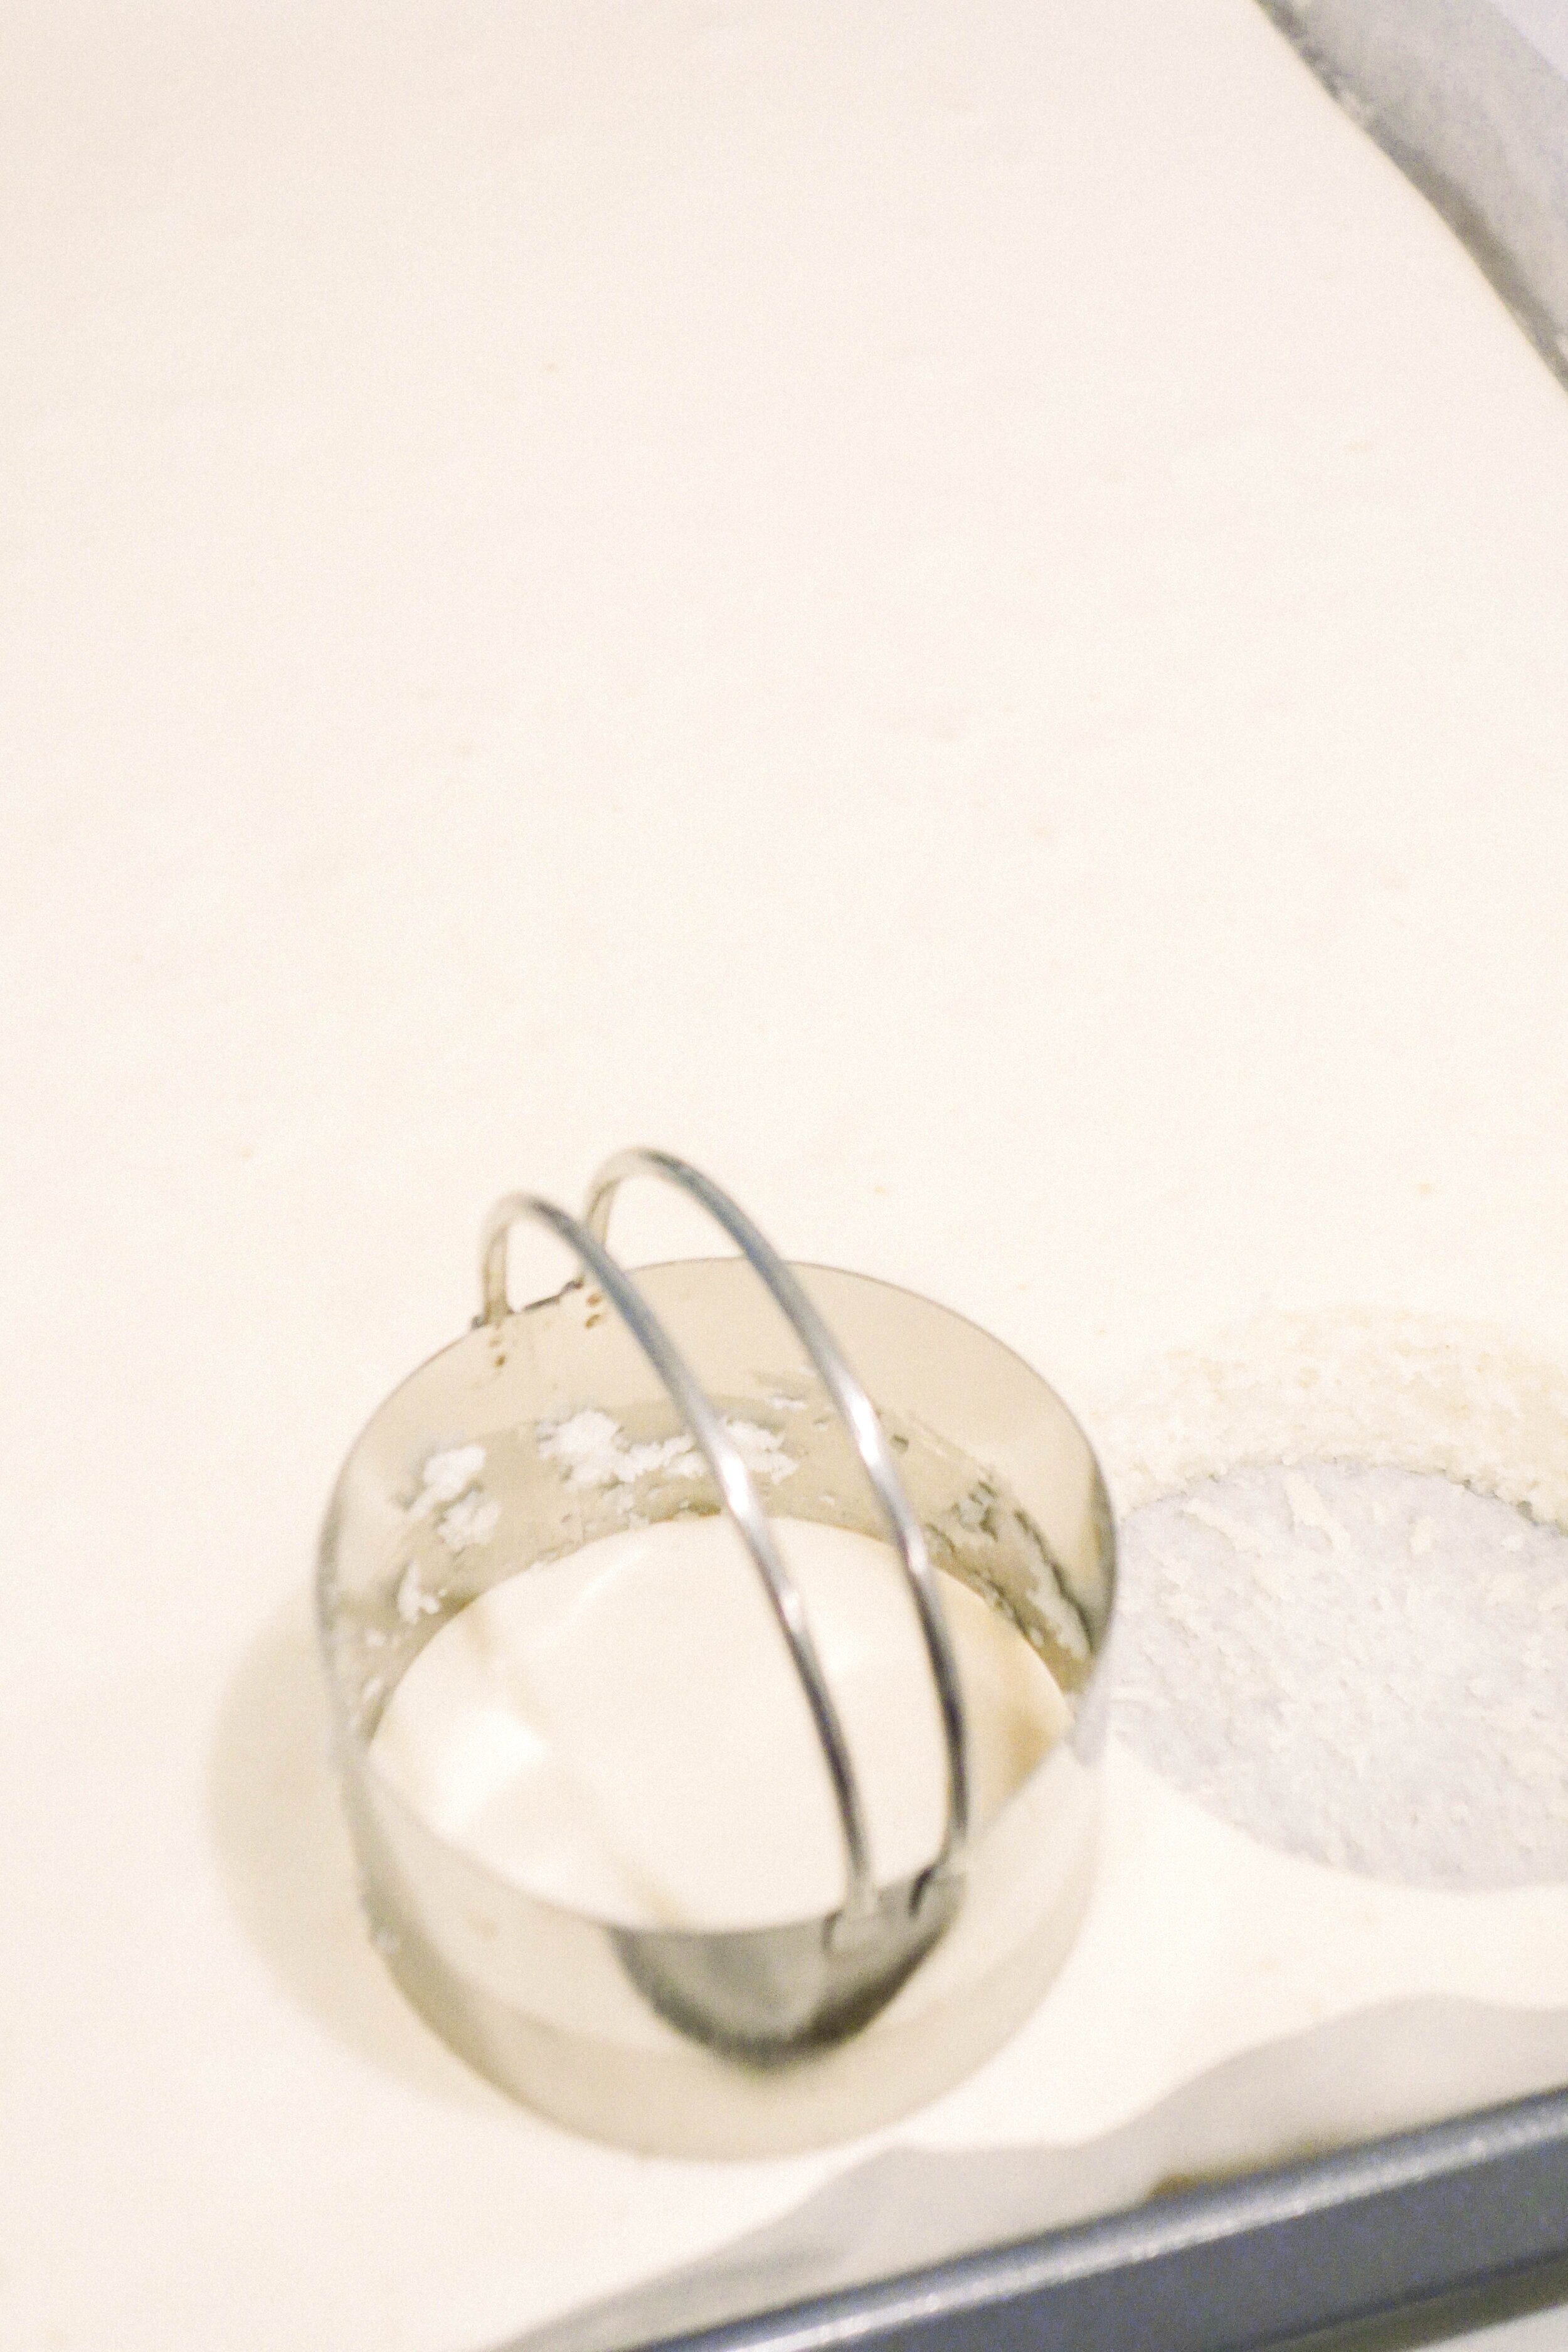
3” Biscuit Cutter
Food Coloring
INSTRUCTIONS
1. Preheat the oven to 350ºF.
2. In a mixing bowl, beat the egg whites until stiff peaks form. Spoon out into a separate bowl.
3. Using the existing mixing bowl, cream the butter and sugars together until smooth.
4. In a separate bowl, sift the flour, baking powder and salt together. Add 1/2 of this mixture into the mixing bowl of butter and sugars and mix until just combined.
5. Add 1/2 of the milk and vanilla until this mixture and mix to combine. Finish by adding the remaining dry mixture (mix and combine), followed by the remaining milk and vanilla (mix and combine).
6. Using a spatula, add in the egg whites and gently fold in to the batter.
7. Spread the batter out onto a sheet pan (13”x18”) that is lined with parchment paper and back for 18-20 minutes. Cool completely.


8. When the cake has completely cooled, use the biscuit cutter to cut mini cakes out of the sheet cake. You should be able to get a minimum of 15 mini cake layers if you cut circle to circle. Freeze the mini cakes after they’ve all been cut and move on to making the batter. (You can also freeze these overnight if needed).

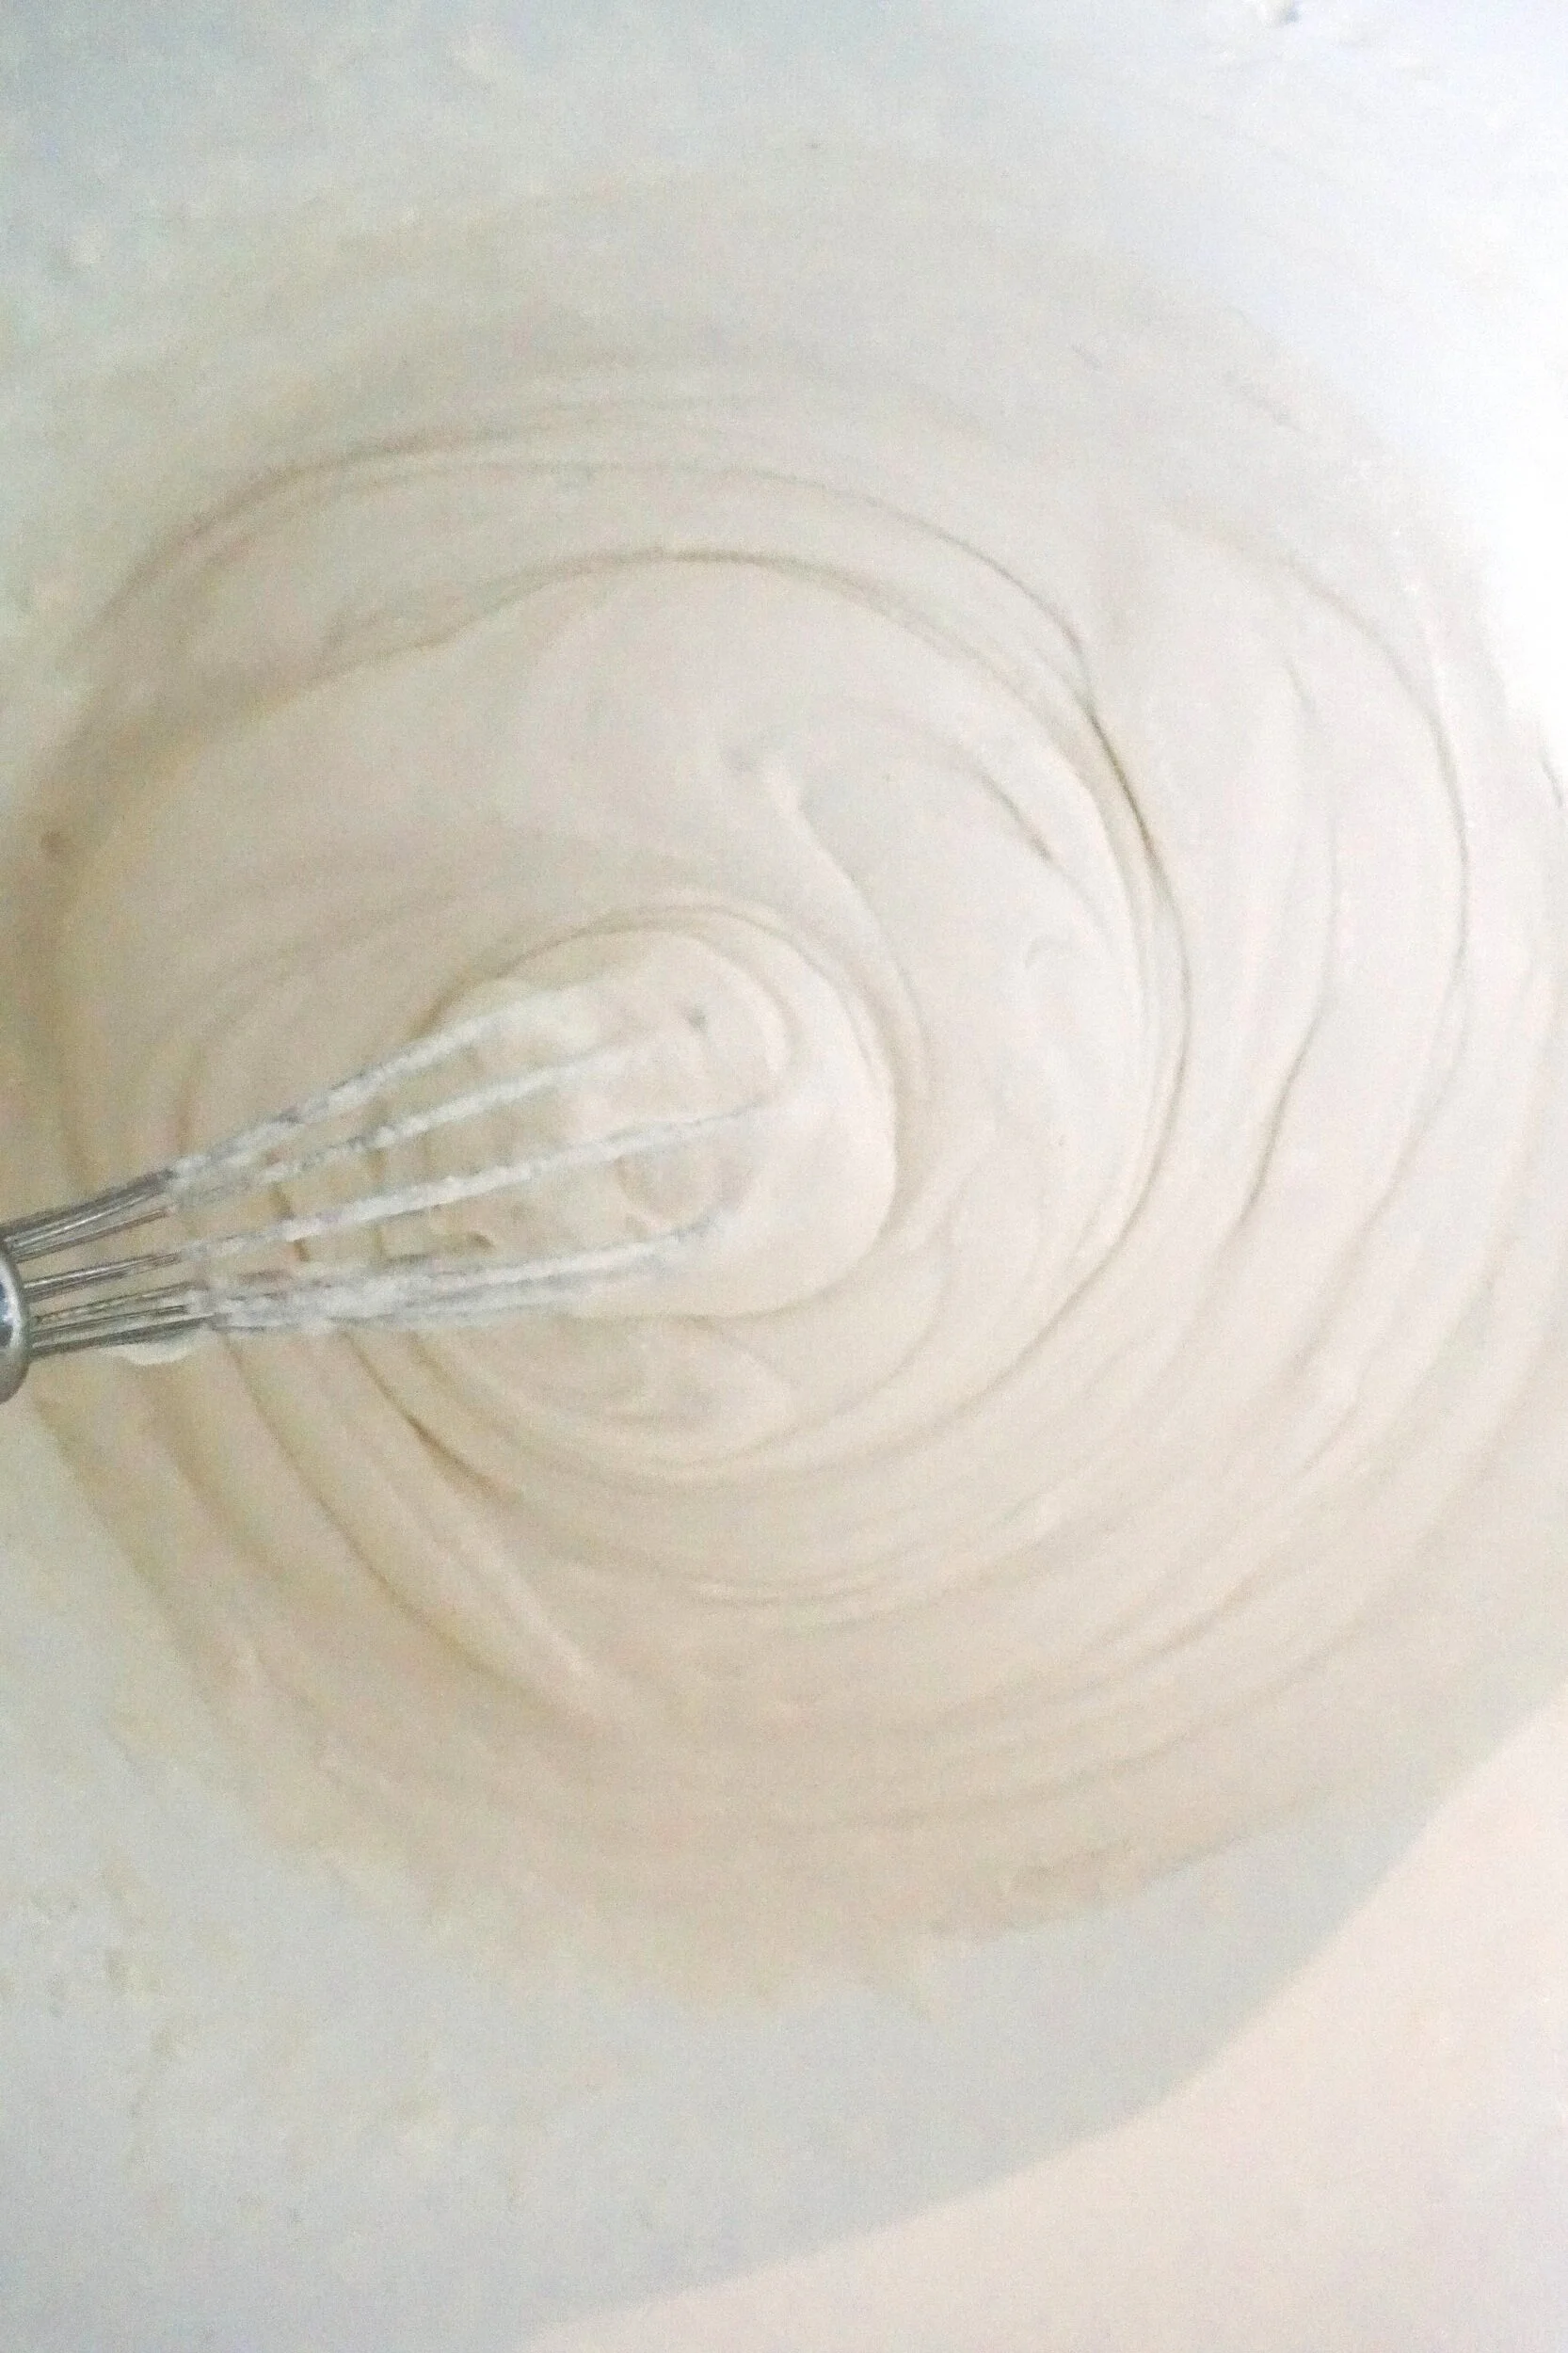
9. While the cakes are in the freezer, let’s make the batter! Cream the sugars together until smooth, add the powdered sugar and vanilla. (adjust the powdered sugar to taste). Add food coloring as desired.


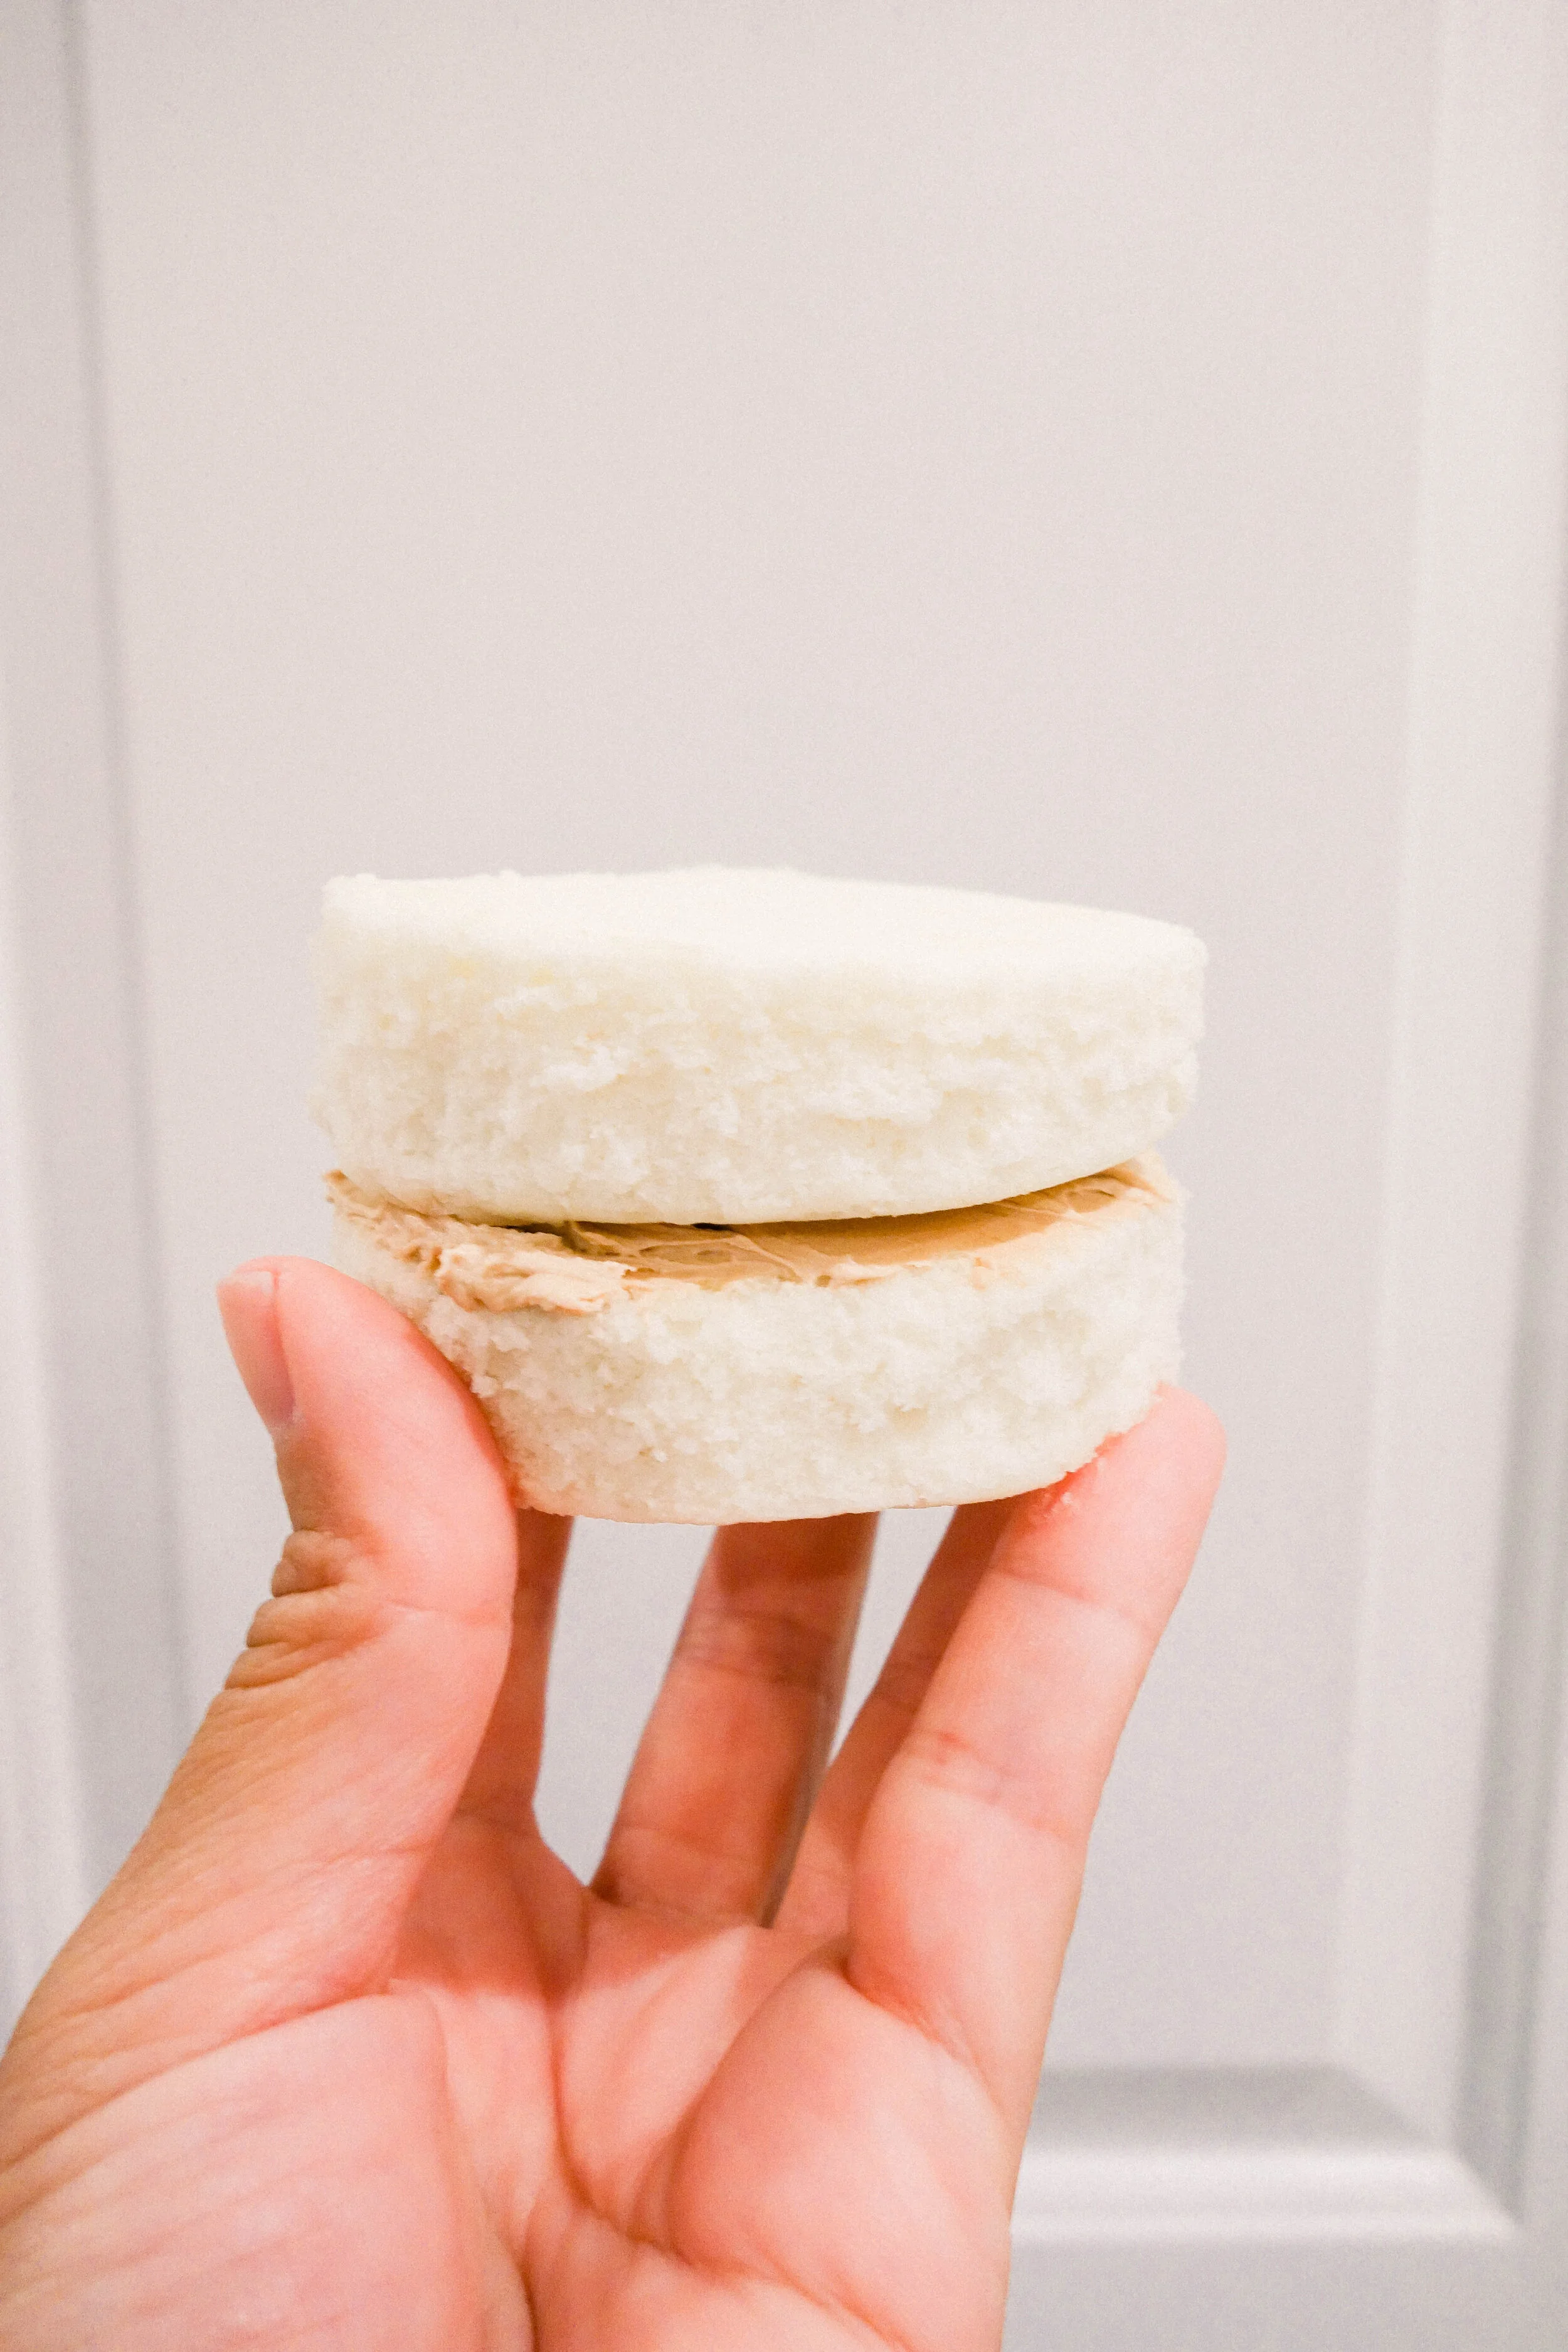
10. Let the cakes freeze for as long as you need. The reason for freezing them is so that frosting can be done easier! Each mini cake will have three layers of cake. To assemble, put a generous layer of frosting between each layer using a flat spatula. After the layers have been filled, frost the entire outside of the cake.


11. After all the cakes have been frosted, pop them back into the freezer until it’s time to eat. Take them out of the freezer an hour before eating. (Don’t worry that they will go stale, the frosting is a protective coat around the cake itself!)
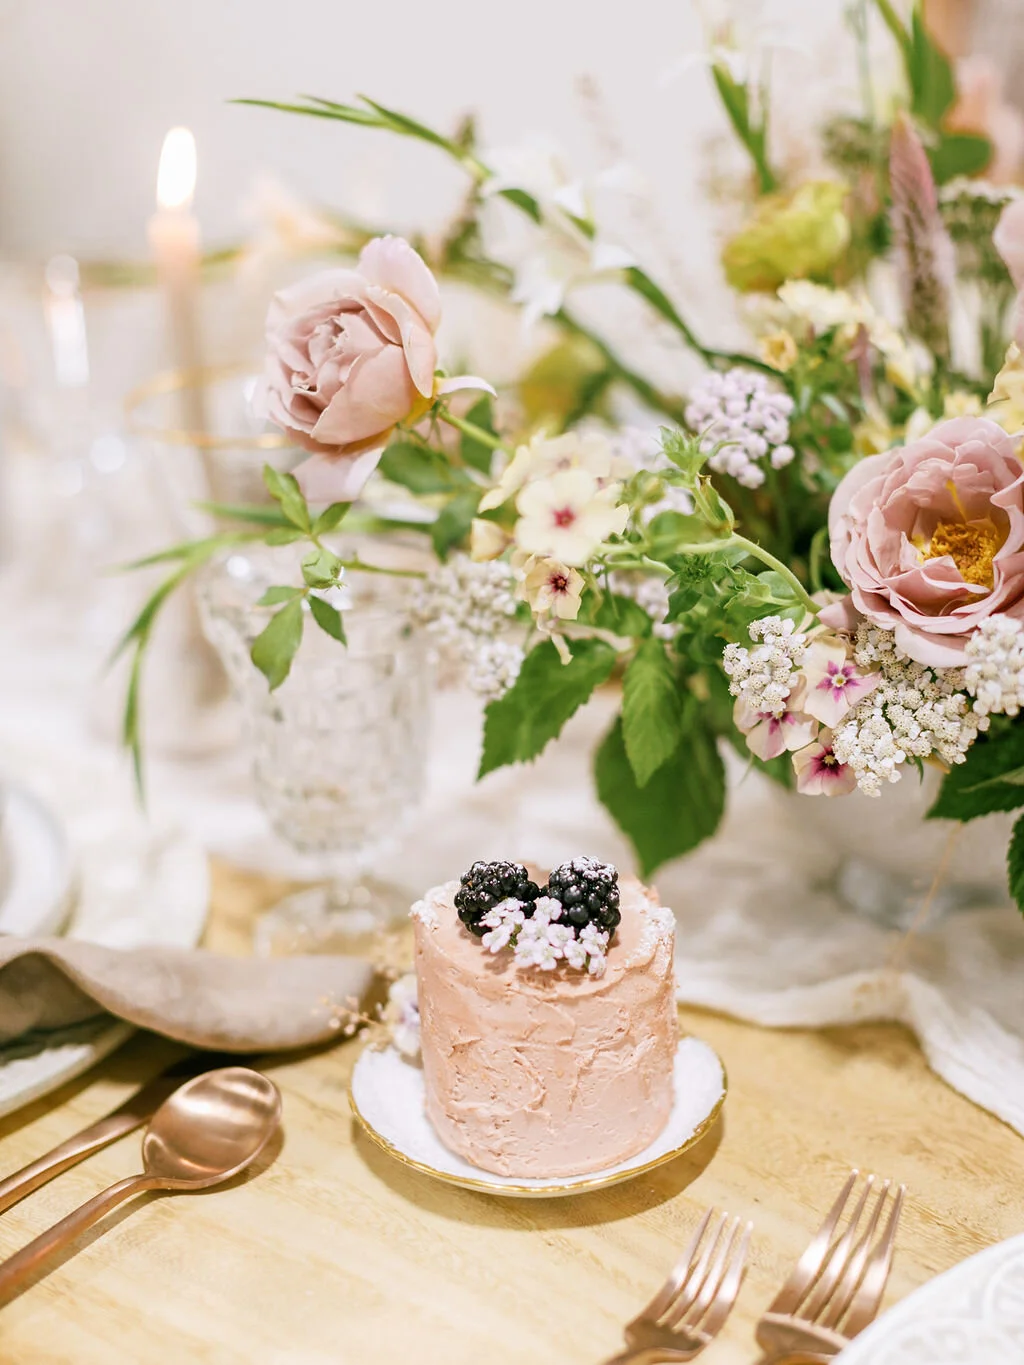
12. Decorate the cake as you wish with sprinkles, florals, etc. and enjoy!